How to Replace a Bathroom Faucet and Drain: An Ultimate Tutorial
You're about to take the plunge and replace your bathroom faucet and drain. Before you start, make sure you're prepared for the task ahead. Shutting off the water supply under the sink is the first crucial step. Then disconnect the existing faucet and drain. But what's the best way to remove them without making a mess? And how do you ensure a secure fit for the new faucet and drain? You'll need to know the right techniques to avoid costly mistakes and ensure a leak-free installation. Let's get started and explore the steps to a successful replacement.
How to Replace a Bathroom Faucet and Drain: Key Takeaways
- Determine the type of faucet and drain to replace. Consider factors like finish, installation method, and compatibility with the sink.
- Shut off the water supply and drain the lines before detaching the old faucet and drain.
- Disconnect the water supply lines, curved pipe, and P-trap to fully detach the old faucet and drain.
- Install a new faucet that matches the sink's mounting holes. Secure it with rubber washers and lock nuts for a leak-free seal.
- Connect the new drain to the P-trap, tighten connections firmly, and turn on the water supply to test the new faucet and drain.
Preparations Before Replacing a Bathroom Faucet
Before you're replacing your bathroom faucet, you'll need to take a few crucial steps to ensure a smooth process.
Determine the type of faucet for your bathroom sink.
Identify your current faucet type (single-handle, two-handle, or wall-mounted). Make sure the new faucet you choose will work with your sink.
Measure the distance between the handles and the spout to select a new faucet that fits the existing drill holes on your sink.
Choose a faucet finish that matches your bathroom decor, such as chrome, brushed nickel, or bronze.
Check the installation instructions of the faucet, whether it is deck-mounted or wall-mounted, to make sure it fits your sink's configuration.
Shut off the faucet water supply before detaching faucet parts.
To turn off the water, find the shut-off valves under the sink and turn them clockwise to stop both hot and cold water. This crucial step prevents water from flowing through the faucet during the replacement process, avoiding leaks and accidents.
To prevent water damage, turn off your water supply before removing or installing the new faucet. Once you've shut off the water supply, you can safely disconnect the old faucet without worrying about water spillage.
Prepare a bucket to catch any spilled water when replacing the drain.
Protect yourself from water damage and mess by placing a bucket under the old sink. The bucket can catch any spills that may occur during the drain replacement process.
Having a bucket ready will prevent water from leaking onto the floor and causing potential damage. Catching spilled water in a bucket will make the cleanup process easier and prevent any messes in the bathroom.
How to Remove the Old Faucet and the Sink Drain
 Now it's time to remove the faucet and the old drain.
Step 1: Disconnect the water supply lines to your sink.
Before proceeding with the removal process, shut off the hot and cold water supplies under the vanity. This act can prevent water from flowing and making a mess. You'll need to turn off your water supply valves, typically located near the main water shut-off valve.
Once you've turned off the water, you can disconnect the supply lines from the faucet. Use an adjustable wrench to loosen the nuts holding the lines in place. Be prepared for any remaining water in the lines to drain out.
Step 2: Place a bucket under the drain pipe of the sink.
Now that the water supply lines are disconnected, place a bucket under the drain pipe of the sink. This crucial step prevents water from spilling onto the floor or cabinet, keeping your work area clean and manageable.
Step 3: Disconnect the curved pipe connecting the drain to the wall and the sink drain.
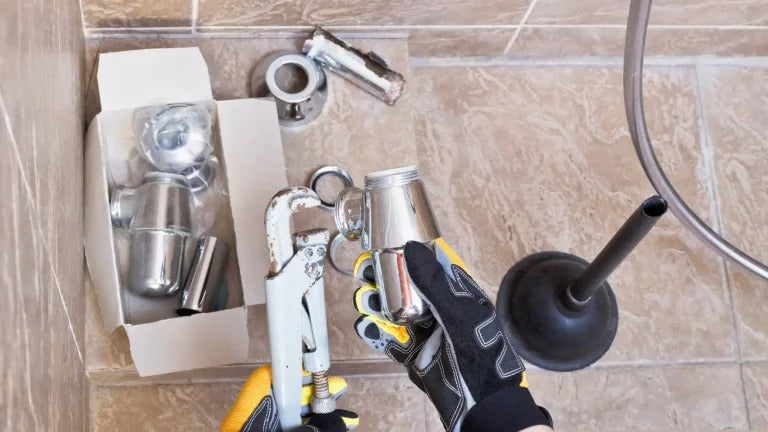
Next, use a wrench to loosen the compression nuts at both ends of the curved pipe, also known as the P-trap, which connects the sink drain to the wall and the drain assembly.
This will allow you to disconnect the curved pipe from the sink drain. Have towels handy to catch any water that may spill out when removing the pipe.
Loosen the nuts by turning them counterclockwise. Then carefully remove the curved pipe to fully disconnect it from the sink drain. Be careful not to spill any remaining water in the pipe. Once disconnected, set the curved pipe aside, making way for the new faucet and drain installation.
Step 4: Use a wrench to undo the water supply lines connecting the valve to the faucet.
You'll need an adjustable wrench to loosen the nuts connecting the water supply lines to the faucet. Make sure to turn off the water supply before attempting to remove the water supply lines. Using your wrench, carefully disconnect the water supply lines from the valve attached to the old faucet.
Gently remove the water supply lines from the faucet to fully detach the old fixture from the sink. Be careful not to spill any remaining water, and you'll be ready to remove the old faucet.
Step 5: Loosen the lock nuts on the faucet and remove them along with the rubber washers.
Using an adjustable wrench, loosen the lock nuts on the faucet by turning them counterclockwise. Then remove them along with the rubber washers to fully detach the old faucet from the sink.
Make sure to turn the lock nuts counterclockwise to avoid damaging the faucet or sink. Once loose, carefully lift the lock nuts and rubber washers off the faucet. Set them aside with the old faucet, ensuring they're properly disposed of later.
Step 6: Remove the old faucet from your sink and clean the drain holes.
Unscrew the nuts securing the old faucet to the sink. Carefully lift it out of the sink basin. Remove the old faucet from your sink, taking care not to touch any electrical components.
Once removed, inspect the area for any debris or residue that may have accumulated. Clean the drain holes in the sink to ensure proper water flow. Use a rag or brush to clear out any gunk or sediment that may be blocking the holes.
Bathroom Sink Faucet and Drain Installation
 Now that you've removed the old faucet and drain, it's time to install the new ones.
Step 1: Select a new faucet that matches the mounting holes on your sink.
You'll need to select a new faucet that matches the mounting holes on your sink. Measure the distance between the mounting holes on the sink to select a faucet that aligns perfectly.
Verify the number of mounting holes on the sink to accurately select a compatible faucet for installation. Ensure the new faucet you choose matches the existing mounting holes on your sink for a proper fit. Compatibility with the sink's hole configuration is essential for a successful installation.
Step 2: Position the new faucet and its rubber gasket to match the mounting holes.
Place the new faucet and its rubber gasket over the mounting holes on the sink. Ensure that the gasket aligns perfectly with the holes. Take measurements to confirm the fit before securing the faucet in place.
Remember to check that the rubber gasket is centered and even with the mounting holes. If necessary, adjust the faucet slightly to achieve perfect alignment.
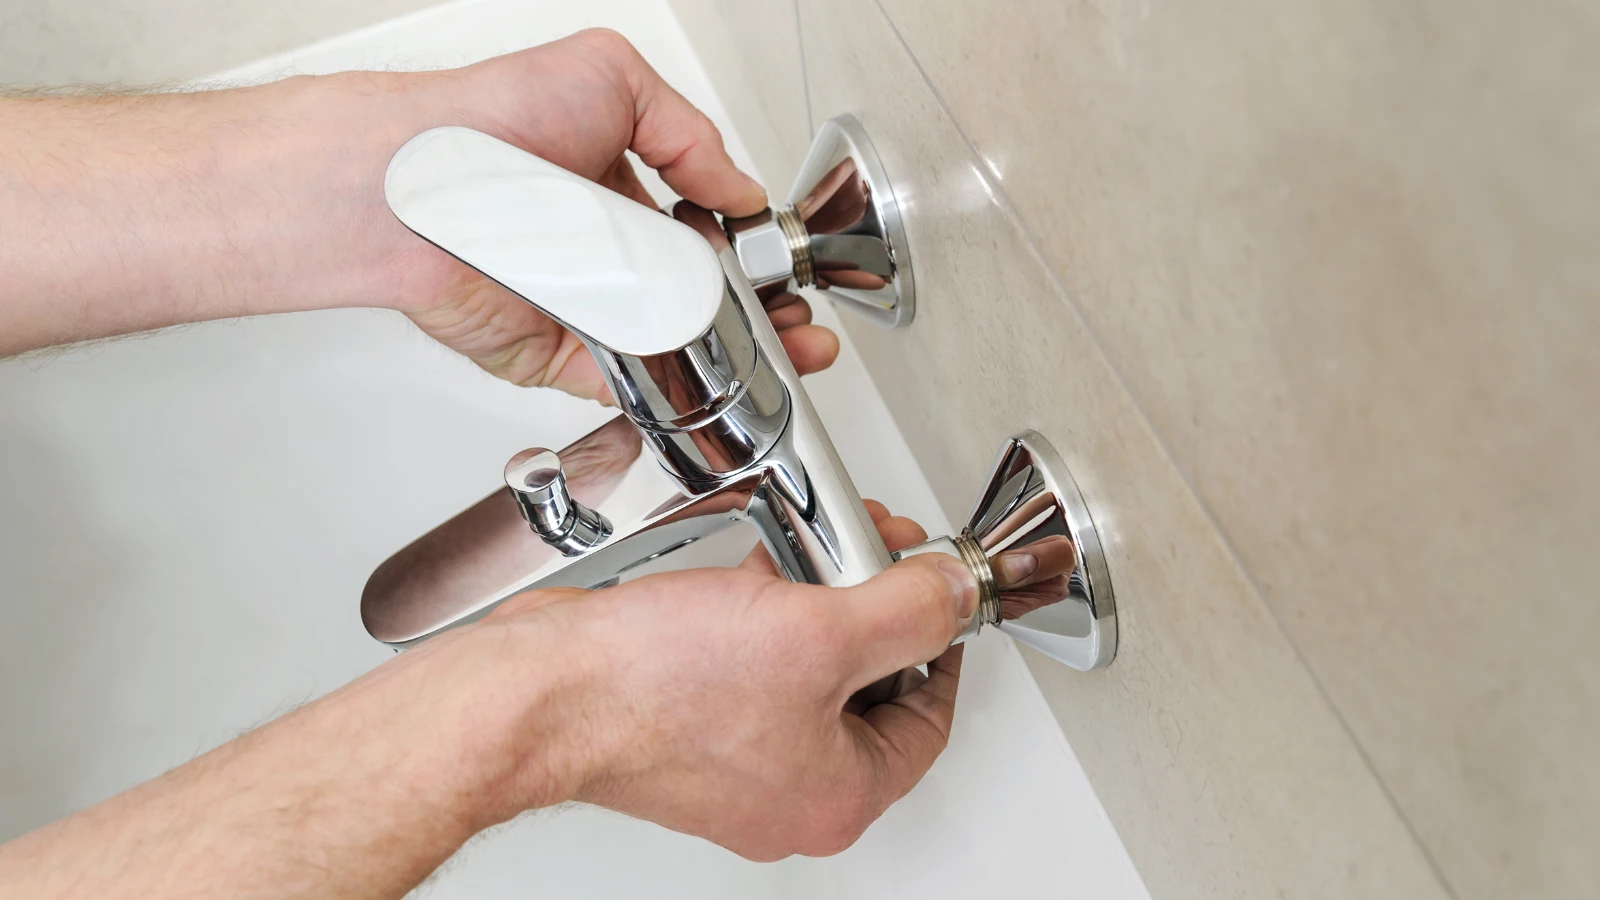
Step 3: Use the rubber washers and lock nuts to fix the new faucet.
Secure the new faucet in place by using the provided rubber washers and lock nuts. Ensure the faucet is properly aligned and centered before tightening the lock nuts.
Hand tighten the lock nuts first, then use an adjustable wrench to secure them further. Be careful not to over-tighten the lock nuts, as this can damage the faucet or the sink. Once tightened, check for any wobbling or movement in the faucet to ensure a secure installation.
Step 4: Use plumber's tape to form a better seal and prevent leaks.
Now ensure a watertight seal by applying plumber's tape to the threaded pipe fittings. This crucial step will prevent leaks and ensure a secure connection.
To do this, wrap the plumber's tape around the threads in a clockwise direction. This will fill any gaps between the threads, creating a watertight seal. Make sure to apply the tape tightly to prevent water from seeping out.
Step 5: Install the water supply pipes to your faucet.
You'll need to connect the water supply lines to the faucet, ensuring a secure and leak-free connection. Use adjustable wrenches to connect the lines, making sure they're securely attached to prevent leaks. Tighten the connections firmly, but avoid over-tightening, which can damage the pipes.
Step 6: Fix the new drain pipe to your sink.
Ensure the correct orientation of the ball rod opening when installing the new drain pipe. Apply a small amount of plumber's putty to the bottom of the new drain pipe. Then insert it into the sink basin. Use Teflon tape to create a watertight seal on the threads of the pipe. Hand-tighten the compression nut to secure the pipe in place.
Step 7: Open the water supply to test the faucet.
As you turn on the faucet, inspect the connections and joints for any leaks or drips. Turn the faucet handles on and off to ensure proper water flow and temperature control.
Listen for any unusual sounds or vibrations that may indicate a problem with the water supply. If you notice any leaks, tighten fittings as needed to eliminate them.
Conclusion
You've successfully replaced your bathroom faucet and drain. Turn on the water supply and check for leaks or drips. Make any necessary adjustments. Test the faucet's hot and cold water flow, ensuring proper temperature mixing. Verify the drain's proper function by running water through it.
Your new bathroom faucet and drain are now ready for use.
Learn more bathroom maintenance tips at CottonCat Blog! Find your next favorite shower curtain at CottonCat!


