How to Install a Bathroom Exhaust Fan: All You Need to Know
How to Install a Bathroom Exhaust Fan: Key Takeaways
- Turn off the power at the breaker and confirm it's off using a circuit tester.
- Use a stud finder to locate ceiling joists and mark the vent location.
- Cut the drywall using a drywall saw to fit the fan housing.
- Secure the fan housing to the joists with appropriate screws, maintaining a 6-inch gap from insulation.
- Connect the wires by matching and securing with wire nuts.
Tools and Materials You'll Need
To safely install your bathroom fan, you'll need some necessary tools. These tools ensure you can cut openings accurately and perform the installation efficiently.
- Ladder: When installing a bathroom fan, a reliable ladder is essential for safely accessing the bathroom ceiling area. Choose a ladder that allows you to comfortably reach the ceiling where you'd like to install the vent fan. A ladder with adjustable height or a platform can offer additional stability, making it easier to work precisely.
- Safety Glasses and Gloves: Wearing safety glasses and gloves is crucial for protecting yourself from potential hazards and injuries during the fan installation. Safety glasses protect your eyes from debris, dust, and other airborne particles that can cause serious harm. Gloves provide necessary protection for your hands against sharp edges, insulation materials, and potential cuts.
- Drywall Saw: Prepare a drywall saw to cut the necessary openings for your bathroom fan installation. This hand tool is designed specifically for cutting through drywall. It features a sharp, pointed tip for easy piercing and a serrated blade for smooth, efficient cutting.
- Reciprocating Saw: A reciprocating saw is indispensable for cutting through various materials, ensuring precise and efficient openings for your bathroom fan installation. When you install a bathroom ventilation fan, you might need to cut through ceiling joists or attic spaces. Using a reciprocating saw simplifies this task.
- Cordless Drill: A cordless drill is essential for maneuverability and accessibility in tight spaces when installing a bathroom vent fan. Its cordless feature lets you move freely without needing a nearby outlet, which is crucial in a bathroom setting.
- Drill Bit: Make sure you have a spade bit and a hole saw bit for drilling the openings when installing your bathroom fan. The spade bit is perfect for drilling pilot holes through wood joists. For the final duct hole in the ceiling, use a hole saw bit to achieve a clean, precise cut. Properly drilled openings are crucial for your bathroom vent fan's effectiveness and longevity.
-
Pencil: One crucial tool you'll need for installing a bathroom fan is a pencil. It
helps you accurately mark the location on the ceiling. Use the pencil to draw precise lines where you need to cut the fan's intake port during installation. - Stud Finder: You'll need a stud finder to locate the hidden studs or joists for securely anchoring the bathroom fan. Stud finders, using magnetic, electronic, or radar technology, help detect changes in density behind surfaces.
- Bathroom Exhaust Fan: Before starting the installation, prepare a new bathroom exhaust fan which provides optimal bathroom ventilation.
- Flexible Ducting: Prepare the flexible ducting for your bathroom fan. Properly installed flexible ducting will effectively expel humid air, reducing the risk of mold and moisture damage.
- Aluminum Foil Tapes: Ensure you have aluminum foil tape on hand. Its heat resistance and strong adhesive properties are crucial for securely sealing ductwork and exhaust vents in bathroom fan installations.
- Screws: When installing a bathroom fan, use screws to securely attach the fan enclosure to the joist. Choose screws appropriate for the material of the joist for a stable installation.
- Roof Vent Cap: When you install the fan, choose a durable vent cap designed for roof installations. Use a good roof vent cap to remove humid air from the bathroom and prevent moisture from building up in the attic. This component is important for making sure the bathroom vent removes moist air outside, preventing mold and damage.
- Silicone Caulk: Silicone caulk is a waterproof sealant that's perfect for sealing gaps and joints in bathroom fan installations. Silicone caulk adheres well to surfaces like metal and ceramic tiles, making it ideal for bathroom environments.
How to Install a Bathroom Exhaust Fan

You've gathered all the tools and materials. Now start installing the room's vent fan with these instructions.
Step 1: Find the delicate circuit for the vent fan.
Start by locating the dedicated electrical circuit for the bathroom vent fan to ensure it's properly powered. If you're replacing an old fan, identify the circuit breaker labeled for the bathroom fan. It's crucial to turn off the power at this breaker before proceeding. Use a circuit tester to confirm the power is indeed off, ensuring your safety.
Step 2: Locate the vent and drill a hole in the center.
Choose a good spot near the shower and toilet to put the vent for effective moisture removal. Use a stud finder to locate the ceiling joists in your bathroom. Drill the center spot of the vent location on the ceiling. Choose a drill bit size that matches the specifications of your fan and ducting. This initial hole will guide you in creating the larger opening needed for the vent. Always follow safety protocols and local building codes to ensure a compliant installation.
Step 3: Mark the vent location on the ceiling and cut it along the mark.
Carefully mark the vent location on the ceiling using your stud finder and the center hole as a guide. Identify the ceiling joists to ensure accurate placement and avoid structural issues. Once you've marked the ceiling, use a drywall saw to cut along the outline. Ensure your cutout is the correct size to accommodate the fan unit, maintaining precision for a flush installation.
Step 4: Fasten the bathroom fan to the joist.
Now step into the attic and take a light. Secure the bathroom fan to the joist using screws to ensure it remains stable and properly installed. Double-check that all connections are tight and that the fan is firmly attached to prevent vibrations. If the joist isn't accessible, consider using suspension brackets as an alternative. Carefully fit the electrical wire through the fan housing, following the manufacturer's instructions.
Step 5: Cut a duct hole through the exterior wall.
To ventilate correctly, use a reciprocating saw to cut a hole in the outside wall for the duct. Measure and mark the exact location of the duct hole, ensuring it's properly aligned with the fan's vent outlet. Cut slowly and steadily to maintain control and accuracy. Once the hole is cut, test-fit the exhaust duct to confirm it fits securely. Apply a generous bead of caulk around the edges of the duct hole to seal any gaps and prevent air leaks.
Step 6: Route the vent to the exterior with flexible ducting.
Ensure the flexible ducting is routed smoothly and directly from the bathroom fan to the exterior vent. Begin by securely attaching the flexible ducting to the fan unit using foil duct tape and mechanical fasteners. This ensures there are no leaks and maintains efficient airflow. Route the ducting in a straight path with minimal bends to the exterior vent. Attach the other end of the ducting to the exterior vent. Then use foil tape and mechanical fasteners to secure it tightly. Check that all connections are secure and airtight.
Step 7: Install the fan to the housing.
Carefully align the fan unit within the housing, making sure it fits securely to prevent any operational issues. Place the fan inside the fan housing according to the manufacturer's instructions. Check that the unit is properly seated to avoid any movement or vibration. Secure the fan by fastening the screws tightly, ensuring all connections are stable.
Make sure there are no gaps or loose parts inside the fan housing that could affect performance. Attach a 4-inch duct to the vent outlet, ensuring it's firmly connected to maintain proper airflow.
Step 8: Connect the wires.
With the fan securely in place, connect the wires by matching the colors: black to black, white to white, and green to green or bare copper.
First, strip about 3/4 inch of insulation from each wire end. Twist the corresponding wires together and secure them with wire nuts. Ensure the connections are tight to prevent any electrical hazards. Carefully tuck the wires into the electrical box, making sure they're not pinched or overly strained. Double-check each connection to confirm they're secure.
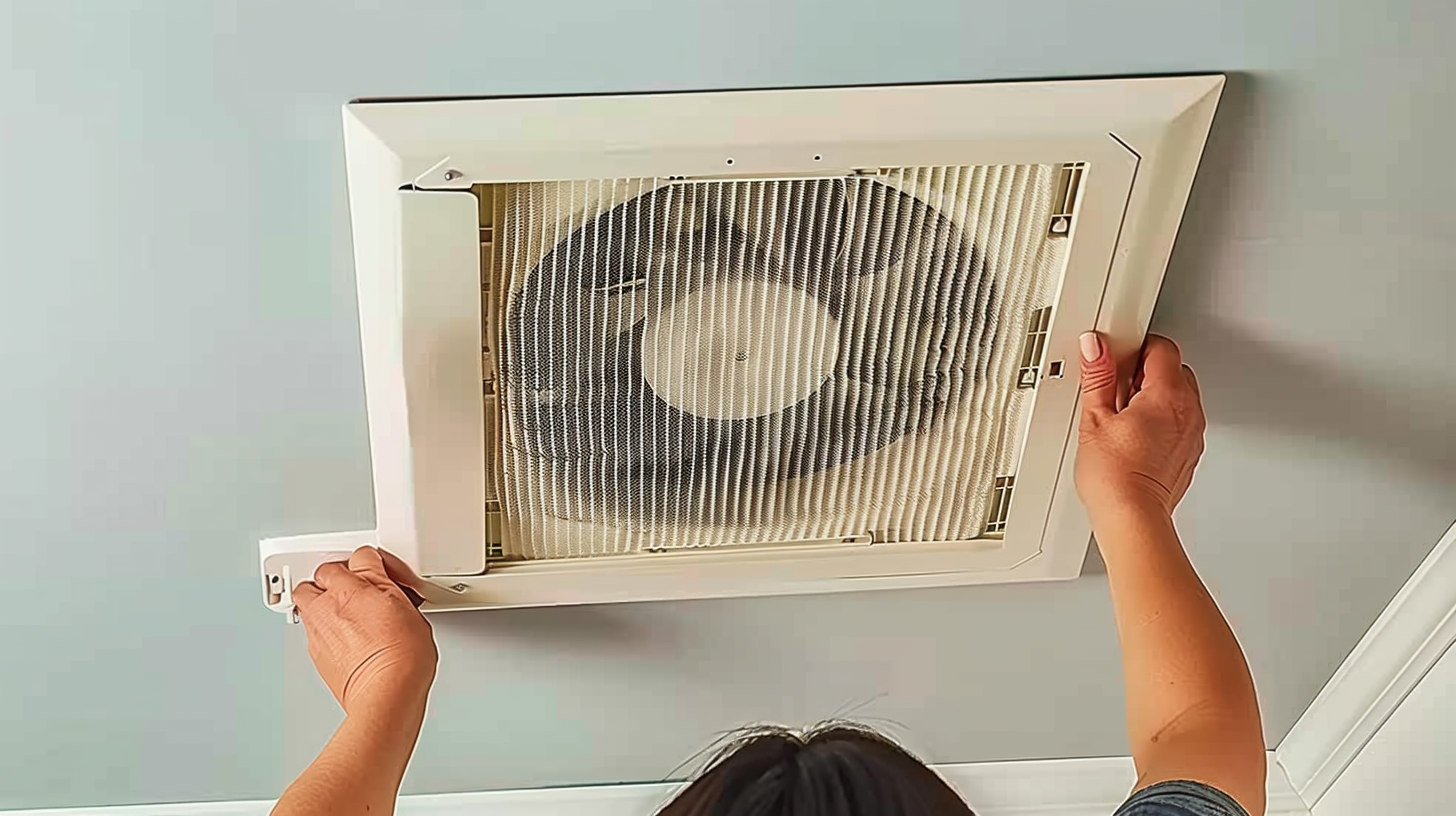
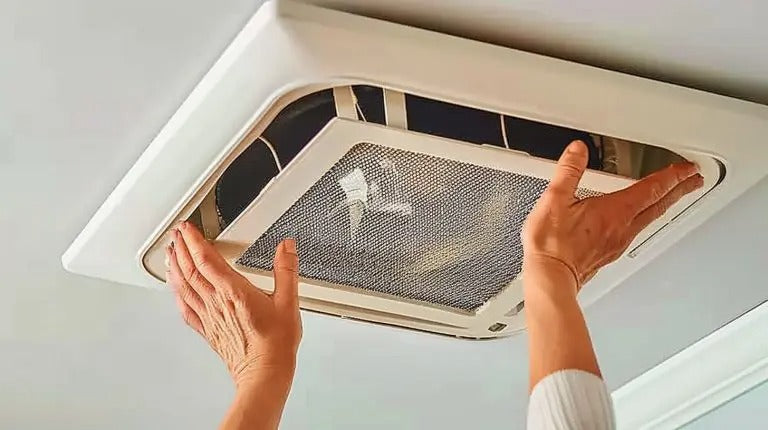
Step 9: Attach the grill to the fan housing.
Secure the grill to the fan housing by aligning it properly and fastening it with the provided screws or clips. Start by checking the alignment of the grill with the housing to ensure a snug fit. Insert the screws or attach the clips as specified by the manufacturer, making sure each attachment point is secure. This prevents vibrations and noise during operation.
Conclusion
Installing a bathroom fan isn't as daunting as it seems when you've got the right tools and follow safety guidelines. An exhaust fan can eliminate the growth of mold and mildew.
Start by cutting the power, find the joists, and secure the fan housing. Connect the wires according to code, and test the fan to ensure it's working correctly. Finally, attach the grill for a clean finish.
By adhering to these steps, you'll ensure a safe, efficient, and code-compliant installation.
Learn more bathroom maintenance tips at CottonCat Blog! Find your next favorite shower curtain at CottonCat!


